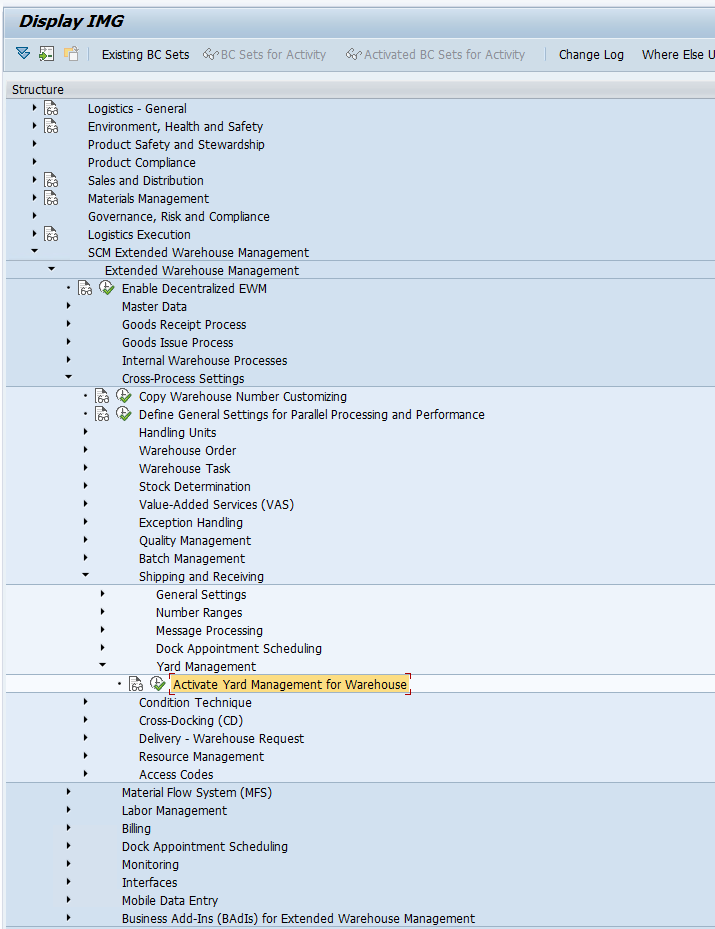
Step 1: First we need to activate YARD Management for our EWM WH.

Step 2: Now we need to create a storage type for our yard, a yard contains Check Points, Parking Spaces, and Doors which we need to create for our Yard Storage Type
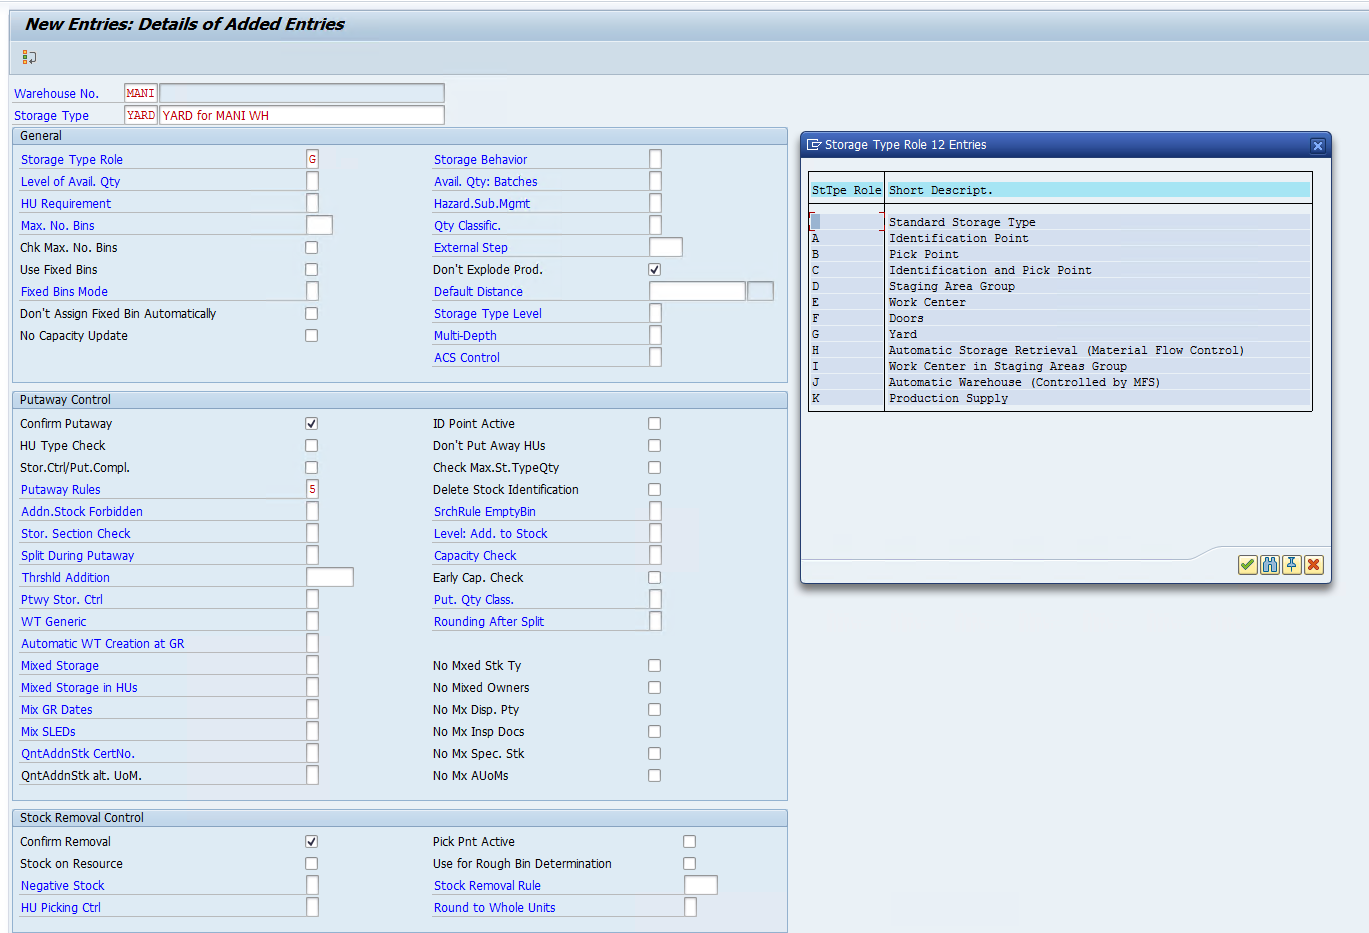
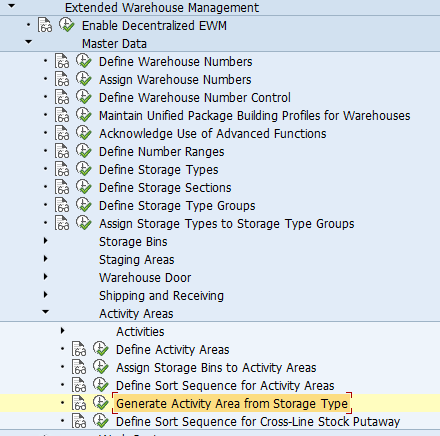
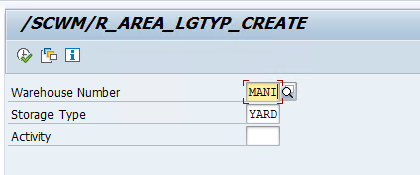
Step 3: Activity Area for our YARD Storage Type
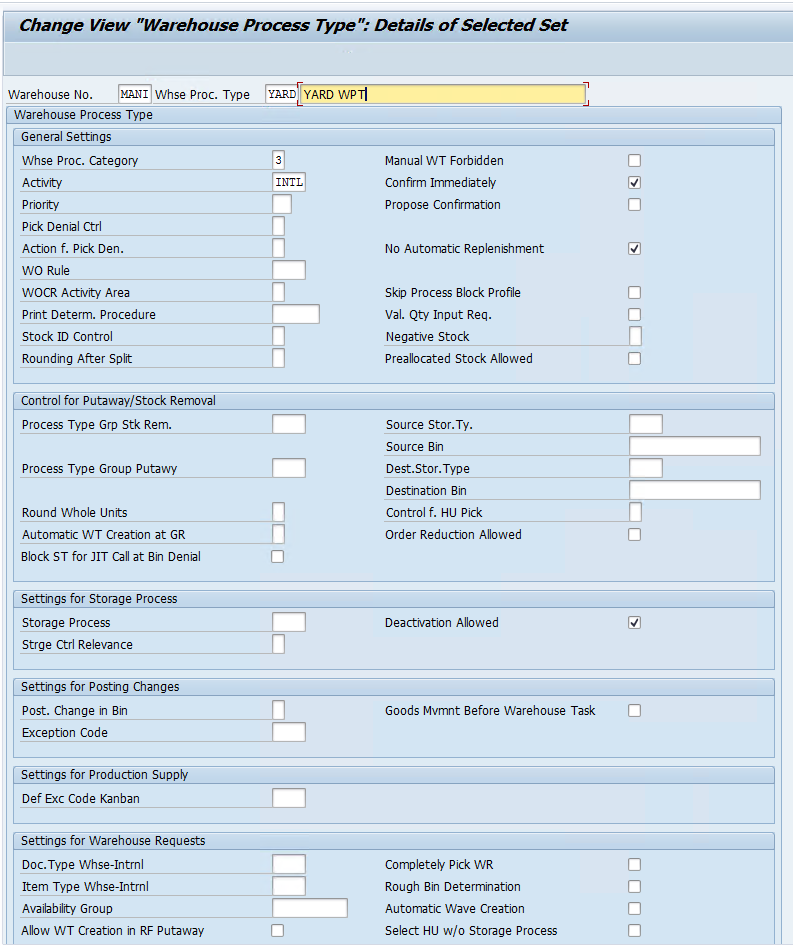
Step 4: Create a custom WPT for YARD to track all the YARD movements
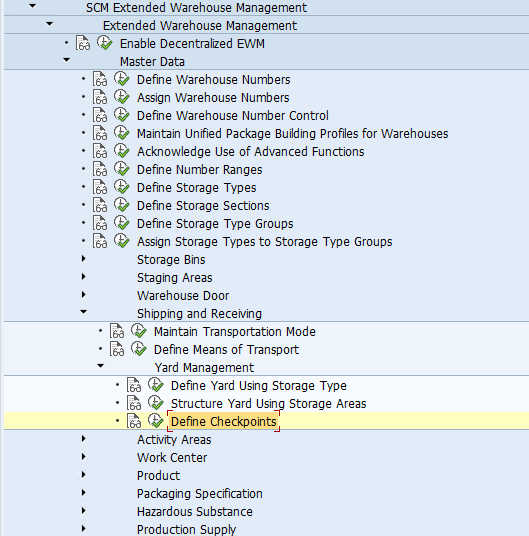
Step 5: Now we will setup our yard and its components
Checkpoints: Used as entry and exit points for TUs or Vehicles.
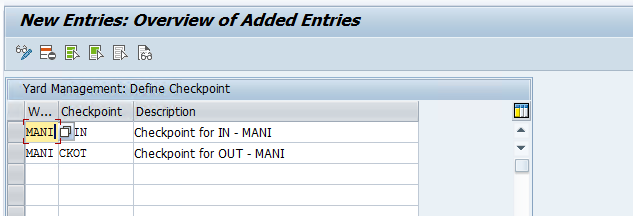
Now we need to create a Bin that will be assigned to the Checkpoint /SCWM/LS01
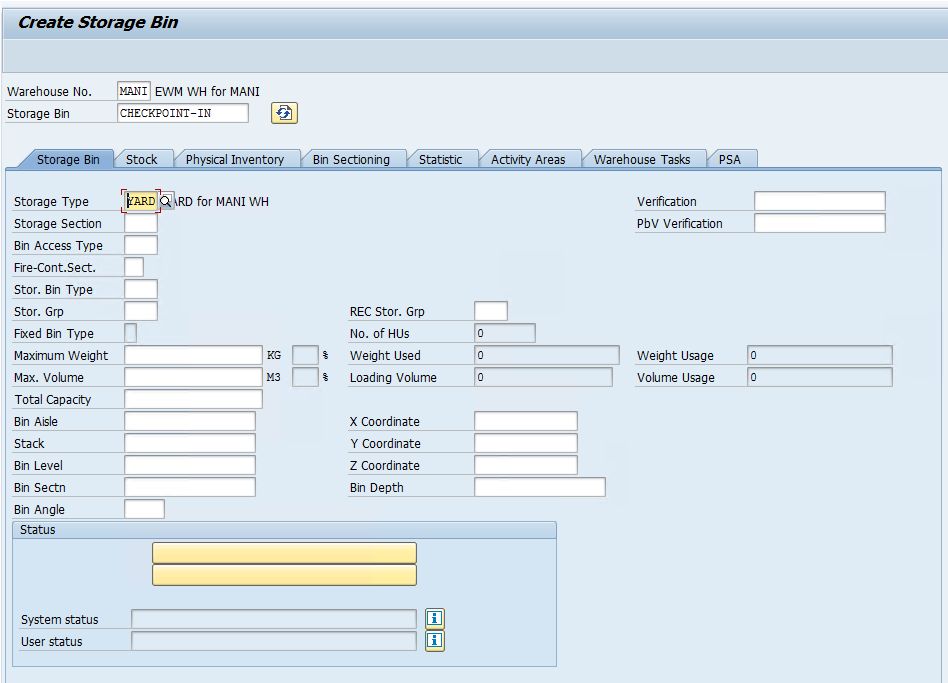
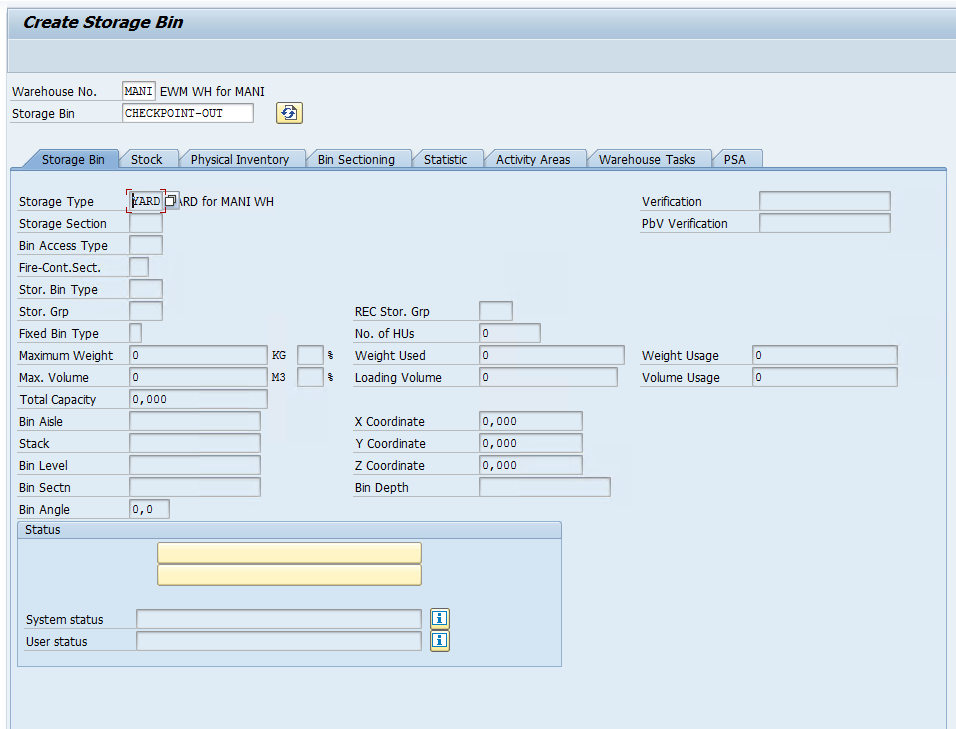
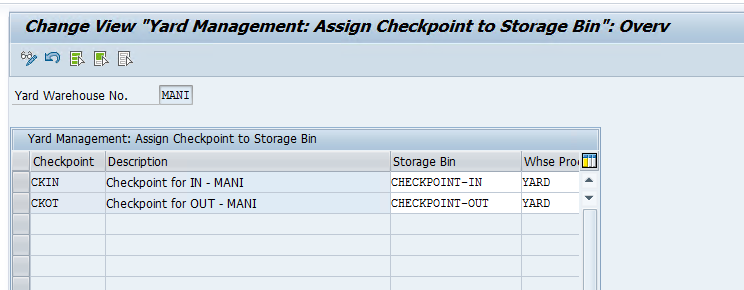
Now we need to assign checkpoints to Bins /SCWM/YM_CHKPT_BIN
Parking Spaces: Bins inside the Yard where TUs or Vehicles can be parked. /SCWM/LS01
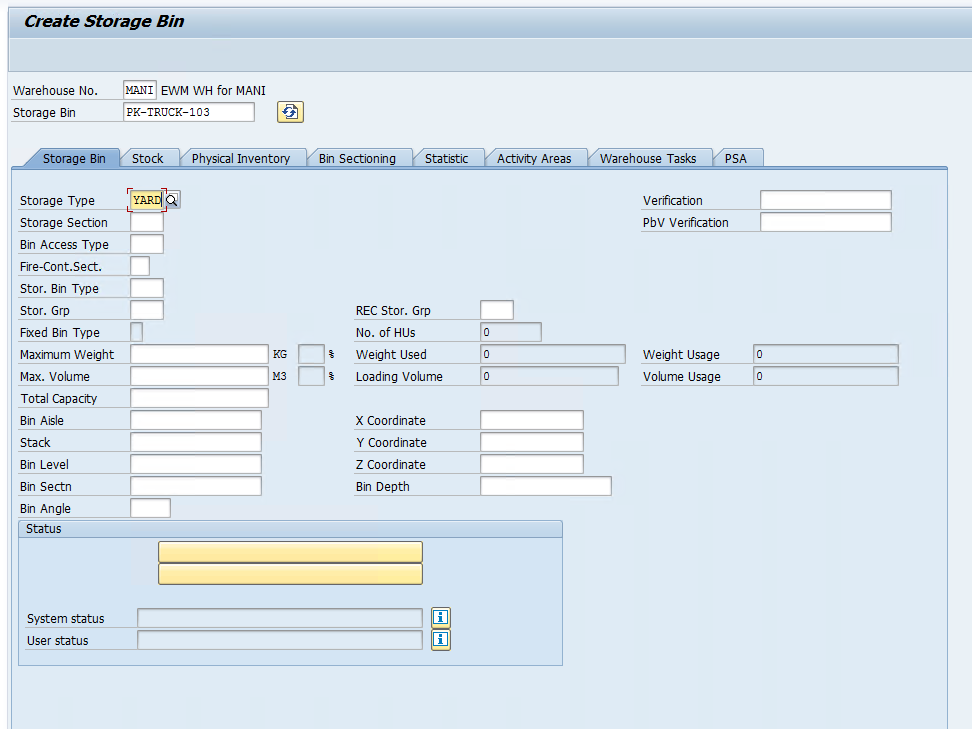
Doors: TUs will be parked and complete the loading and unloading through these doors which are connected to EWM WH and Door Bins in YARD.
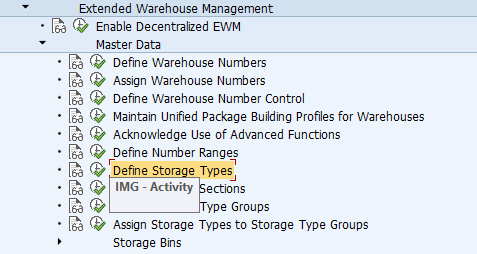
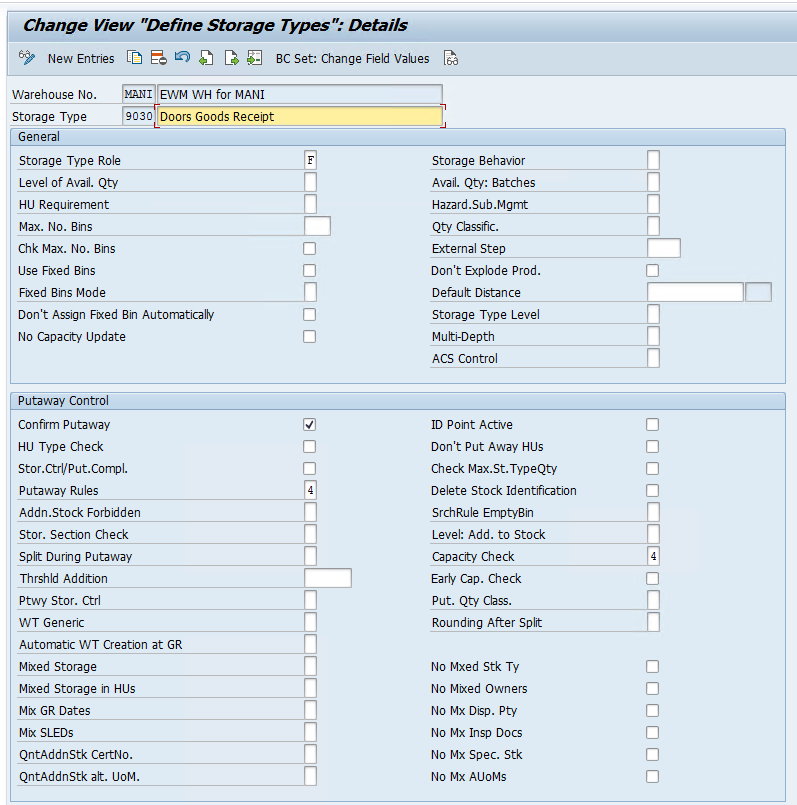
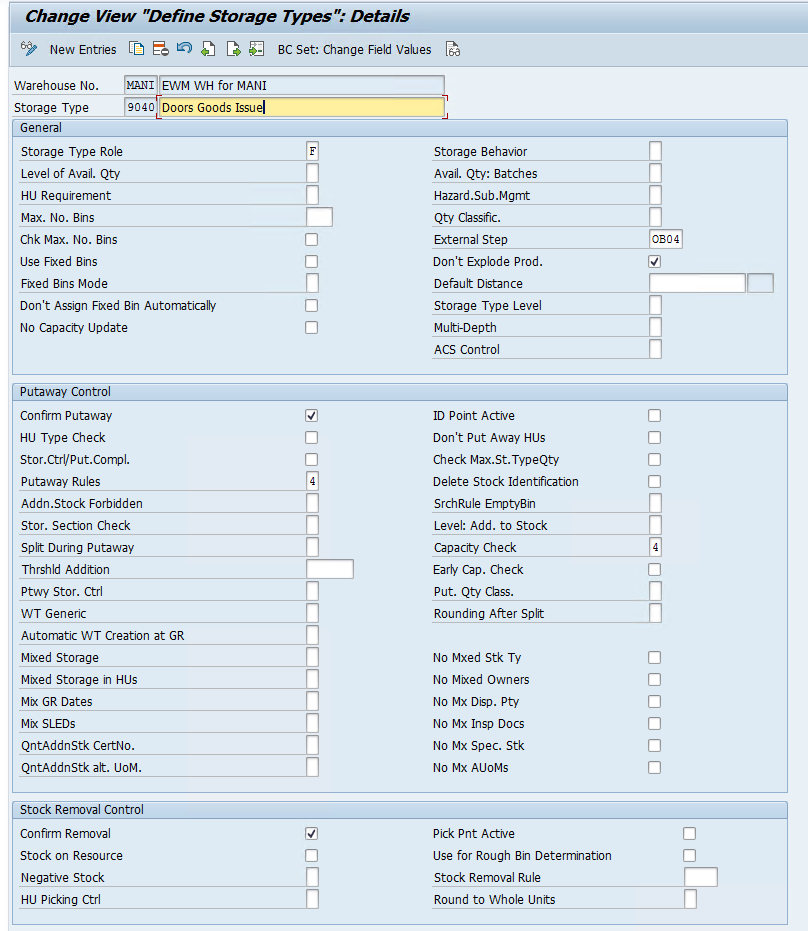
Define Activity Areas for the IN and OUT Doors
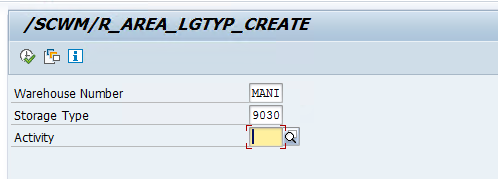
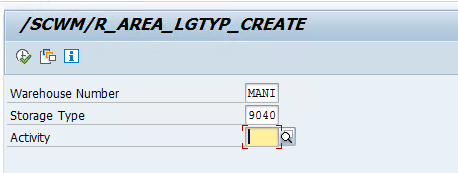
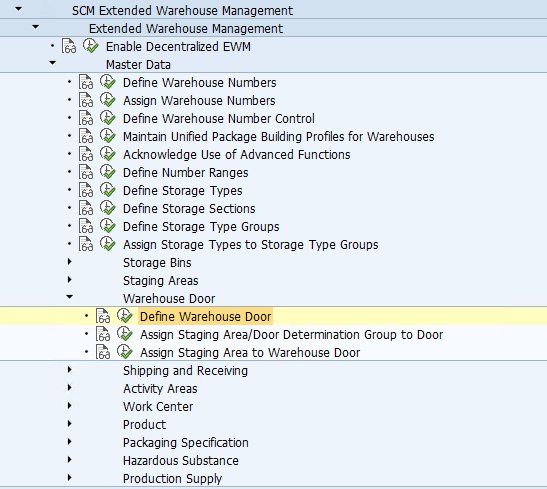

Now we need to create Bins for out GR and GI DOOR and assign them to the whose door we created in the configuration
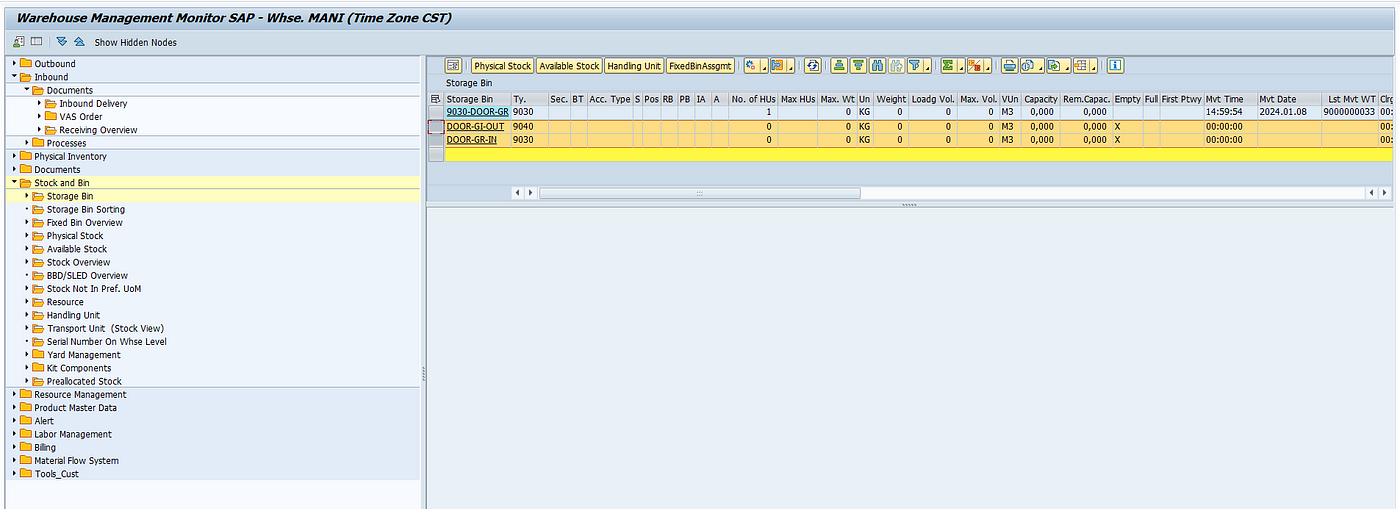
Assign the warehouse door to the door storage bin and to the supply chain unit using the t-code:/SCWM/DOOR_SCU

Now we will create bins as doors in YARD and assign them to the IN and OUT Doors assigned to our WH
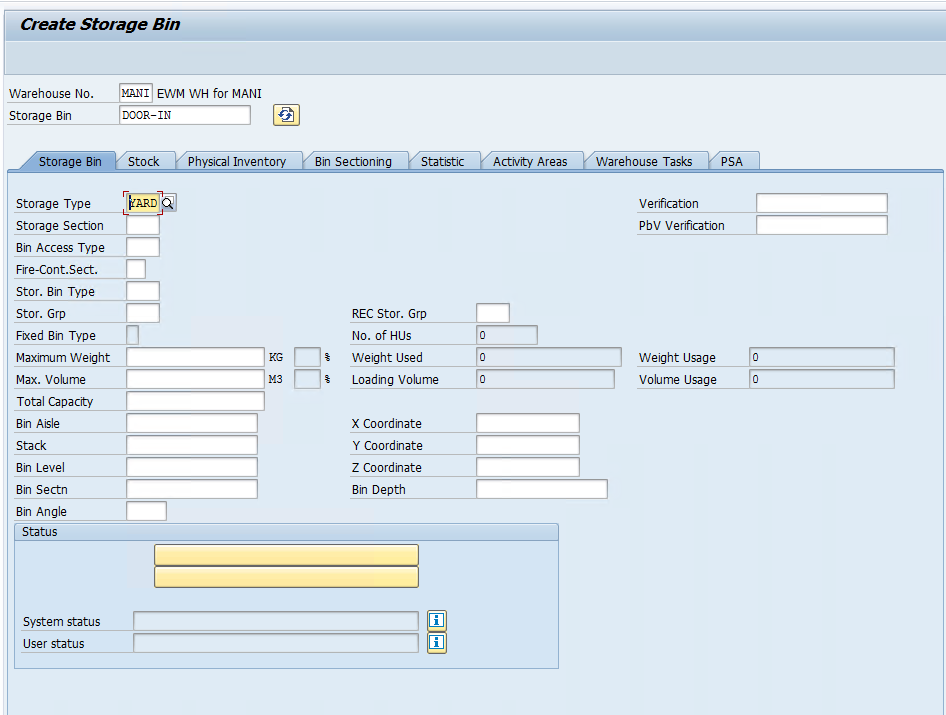
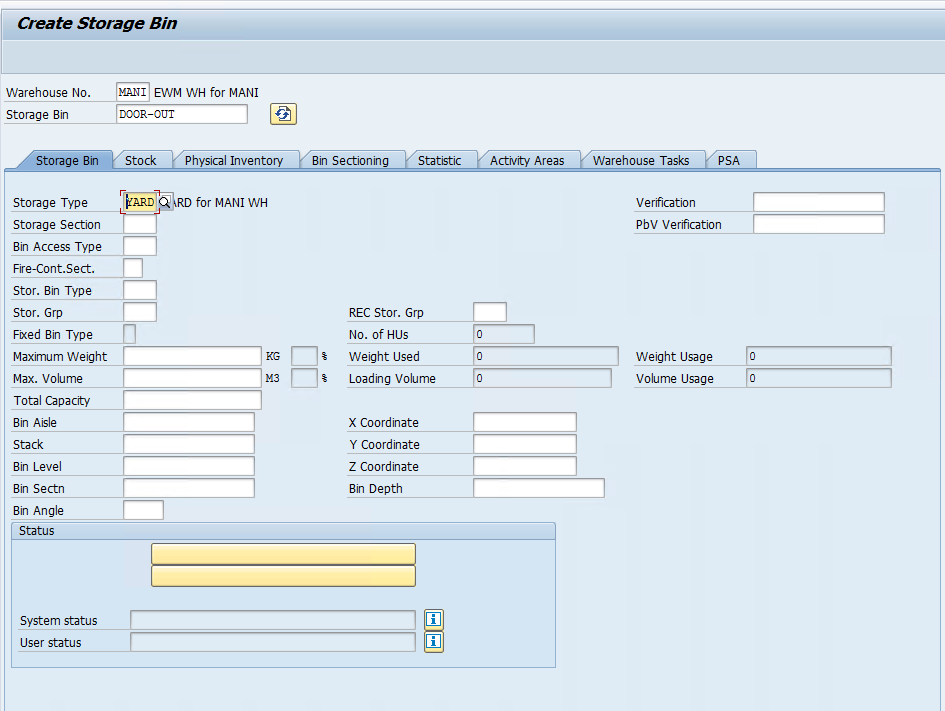
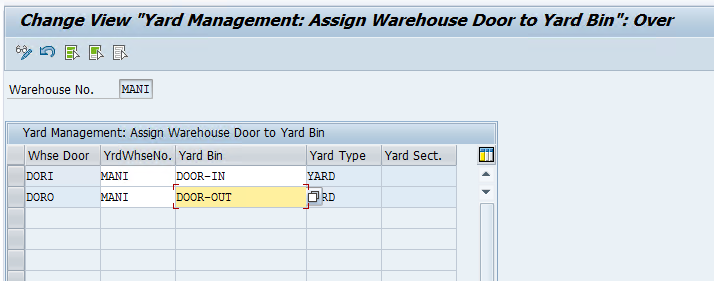
Assign the YARD doors to WH Doors /SCWM/YM_DOOR_BIN
once all these configurations are done, We need to maintain the Means of transport, packaging material, and Transportation unit configuration for our warehouse
This is a basic configuration which we are going to cover in this blog so that we can generate a TU for our inbound process and assign the Inbound delivery to the TU to execute yard management transactions.
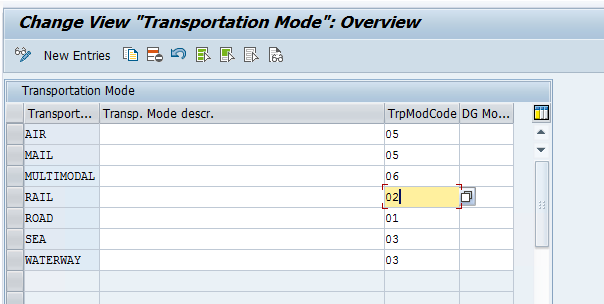
First, maintain transportation modes and then define the means of transport.
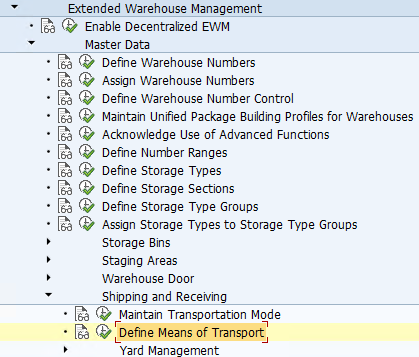

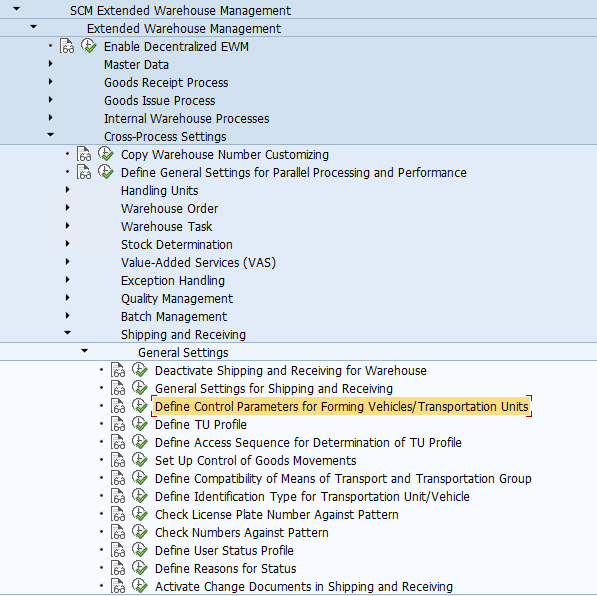
Define control parameters for TU/Vehicle forming

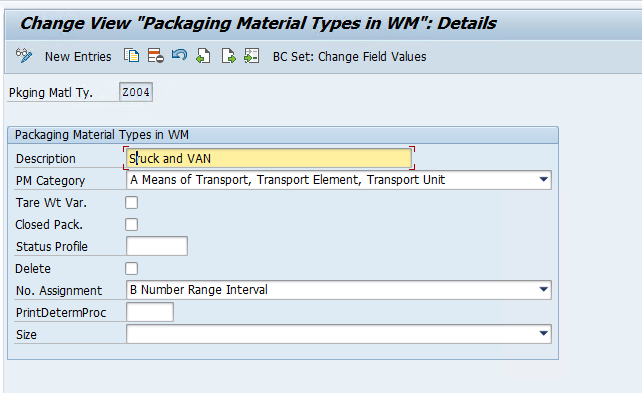
Create a packaging material type for TUs
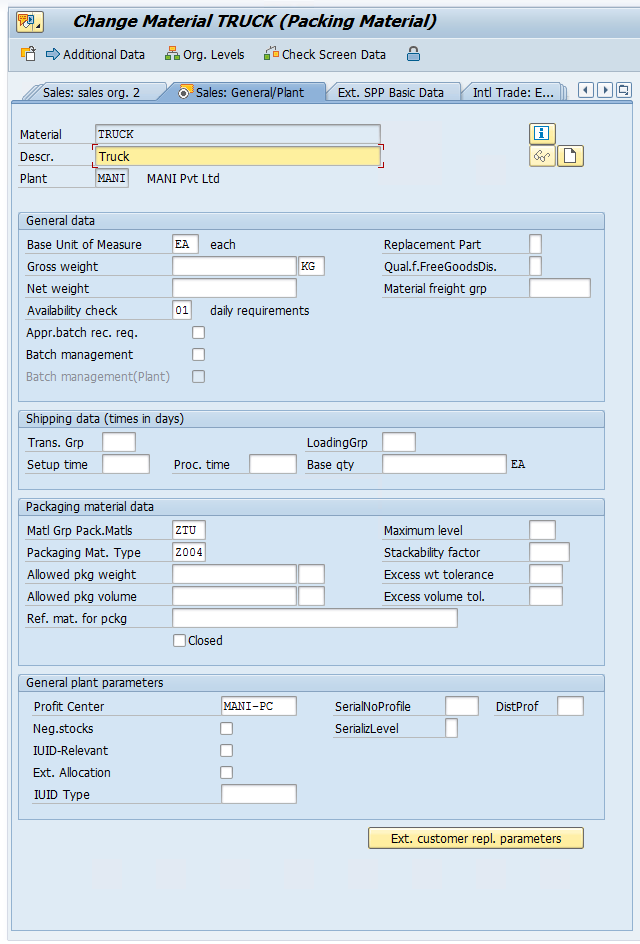
create a packaging material mm01
- Link Packaging Material with Means of transport — TCode /SCWM/PM_MTR

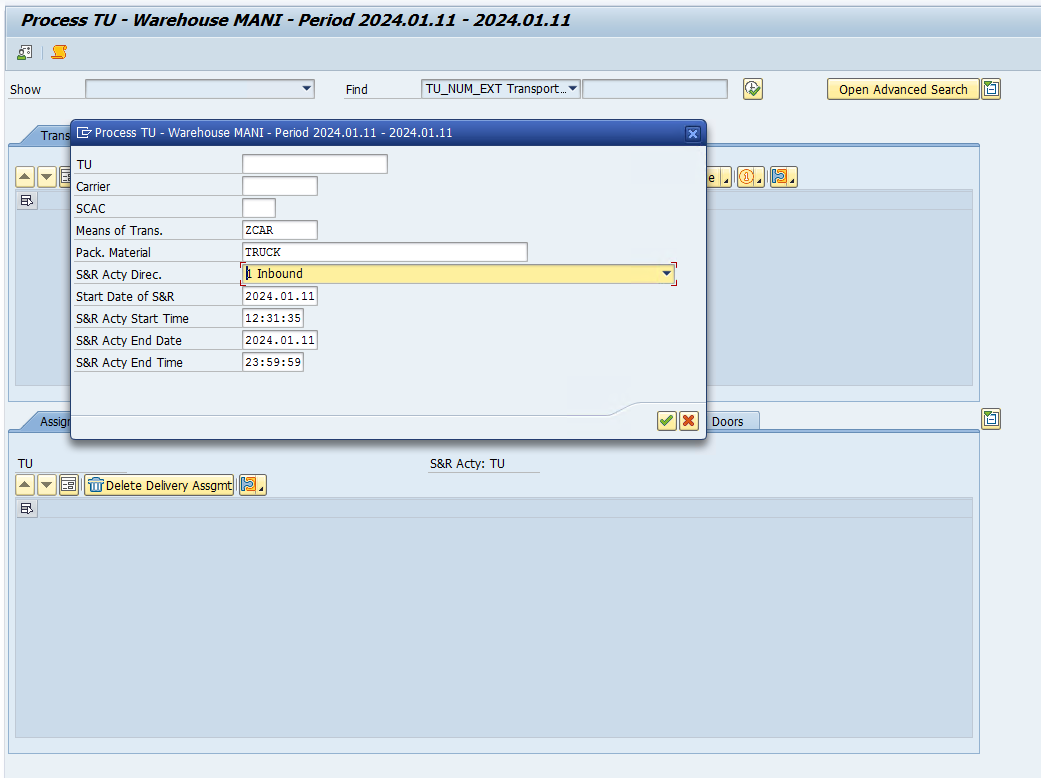
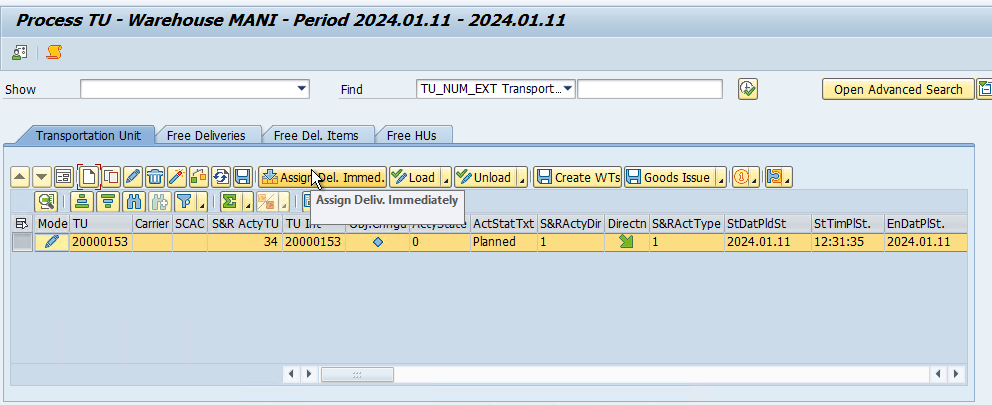
Once this is done create a TU with Tcode /SCWM/TU and assign the inbound delivery to the TU
