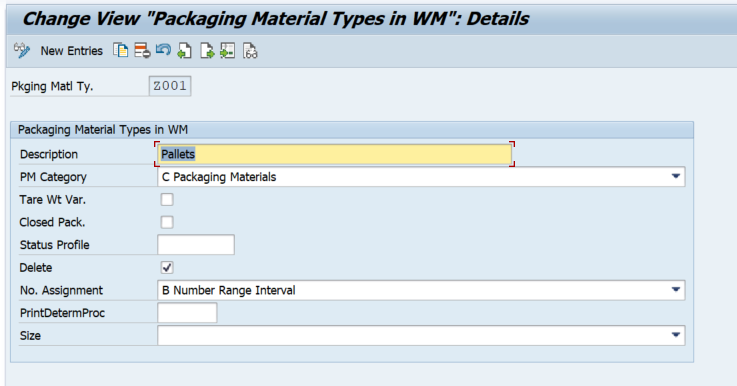
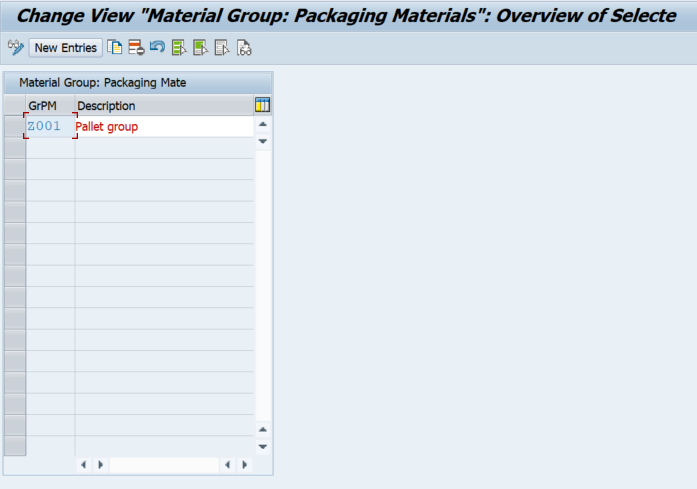
Step 1: Configure Basic configurations for the HU


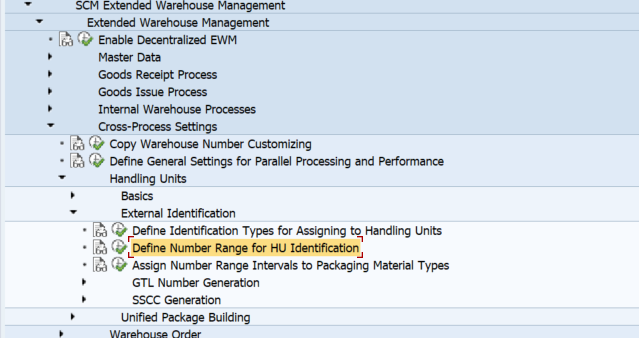
Step 2: Assign Number Range


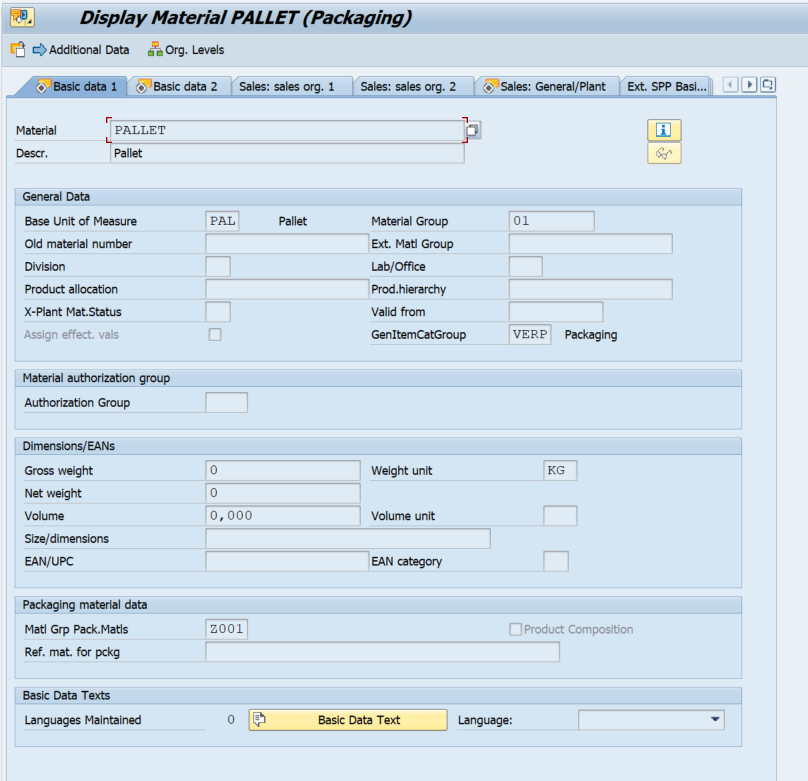
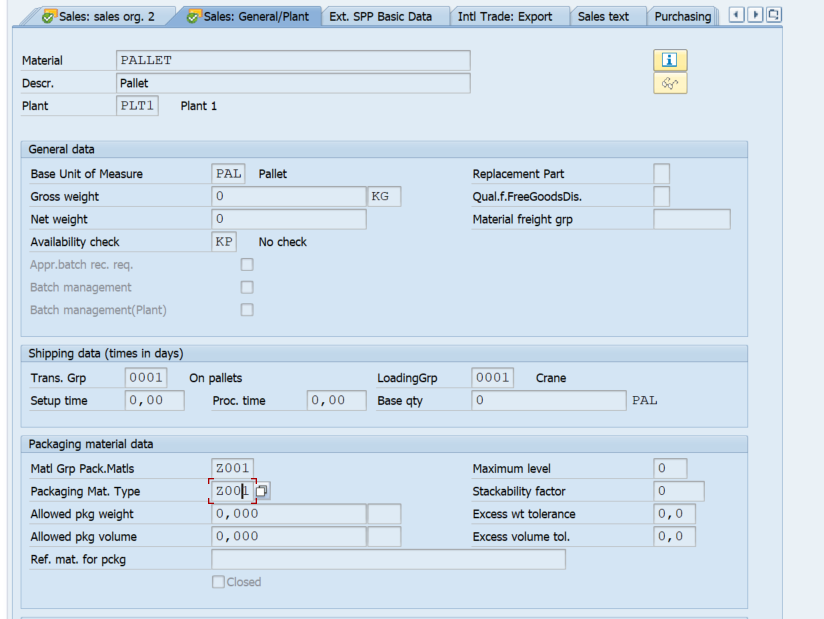
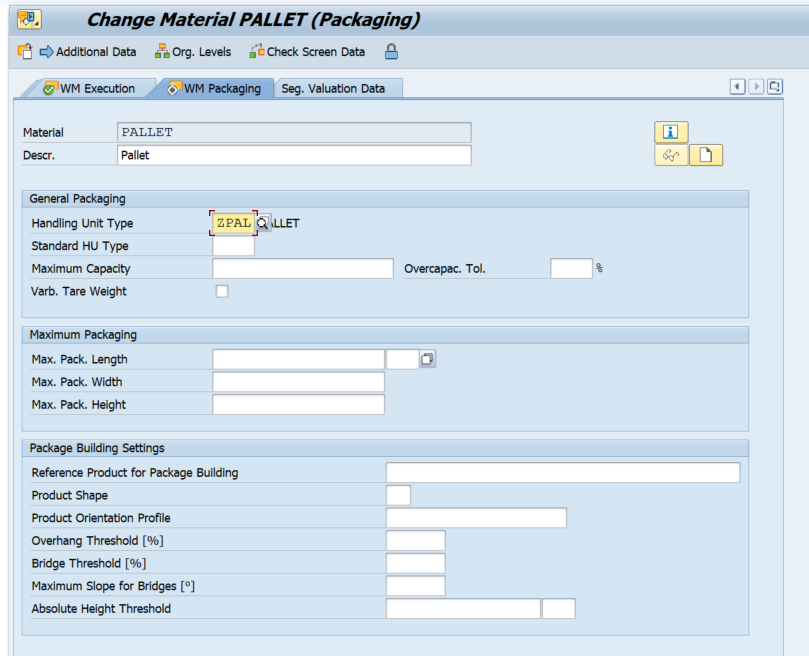
Step 3: Create Packaging Material — MM01
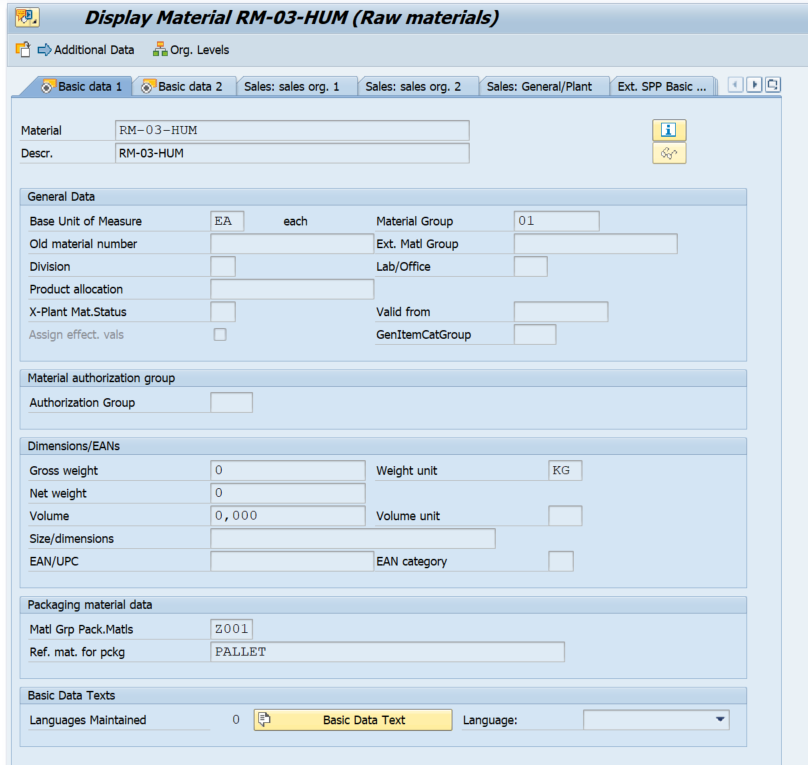
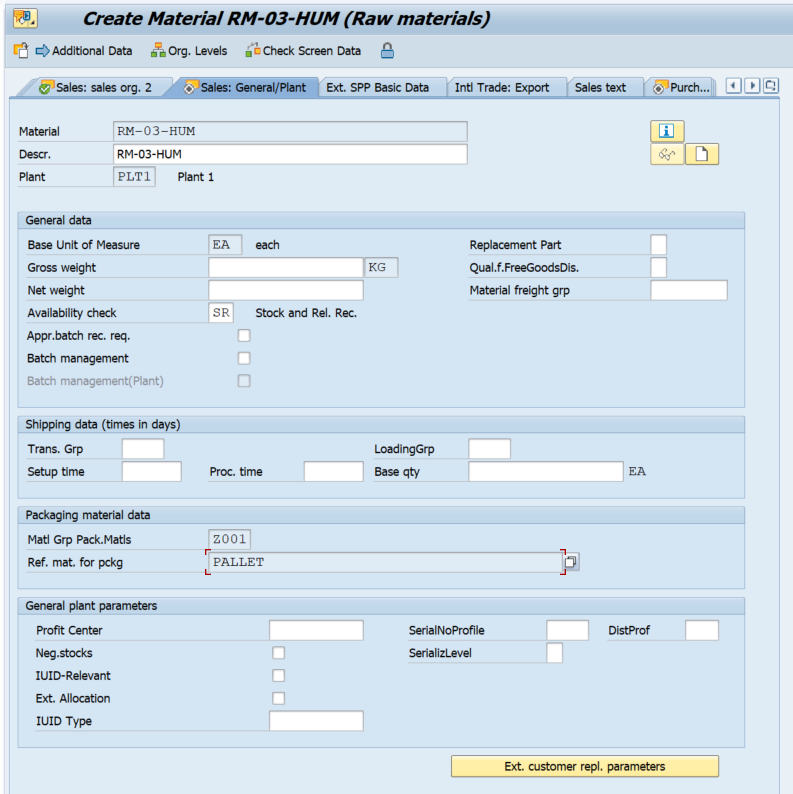
Step 4: Maintain master data for FG/RM/SFG which needs to be packed in HU
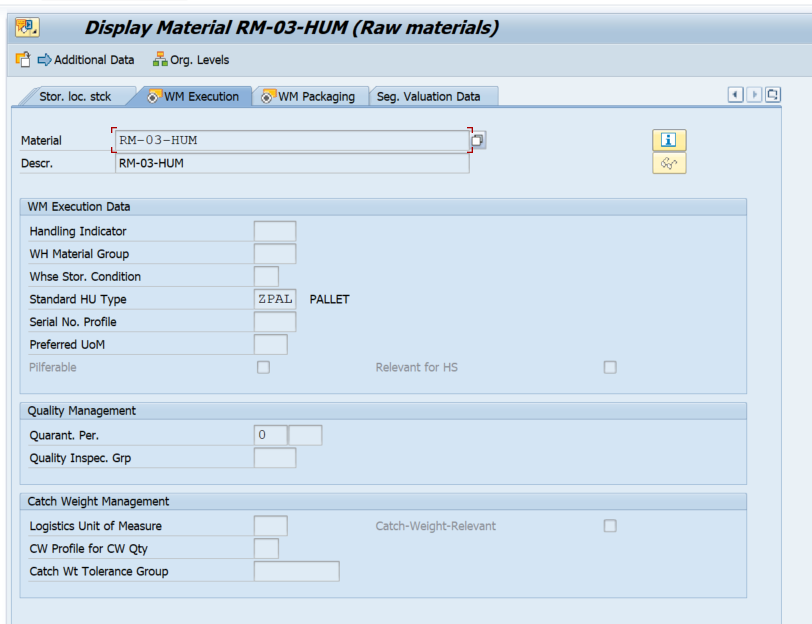
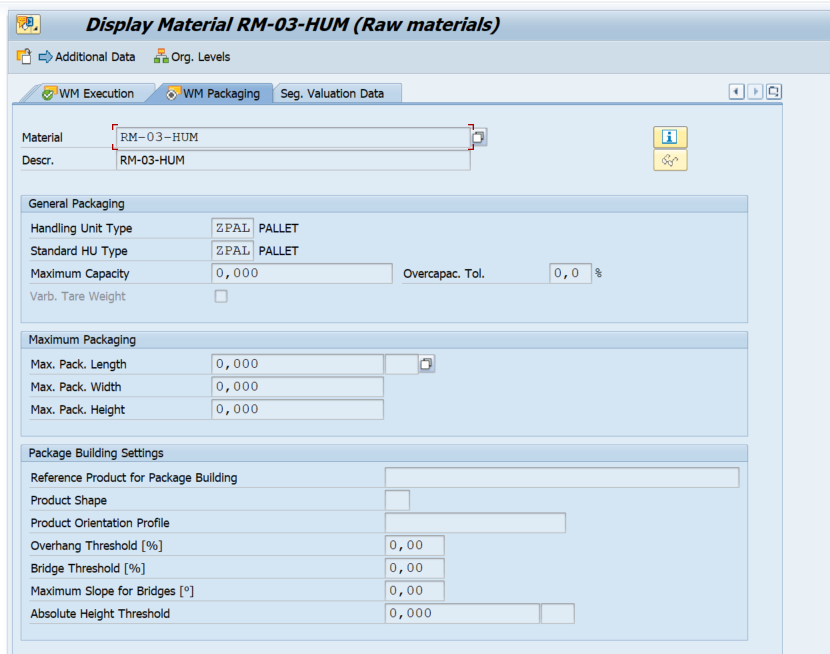
Now we will create a delivery and pack the material before Putway.

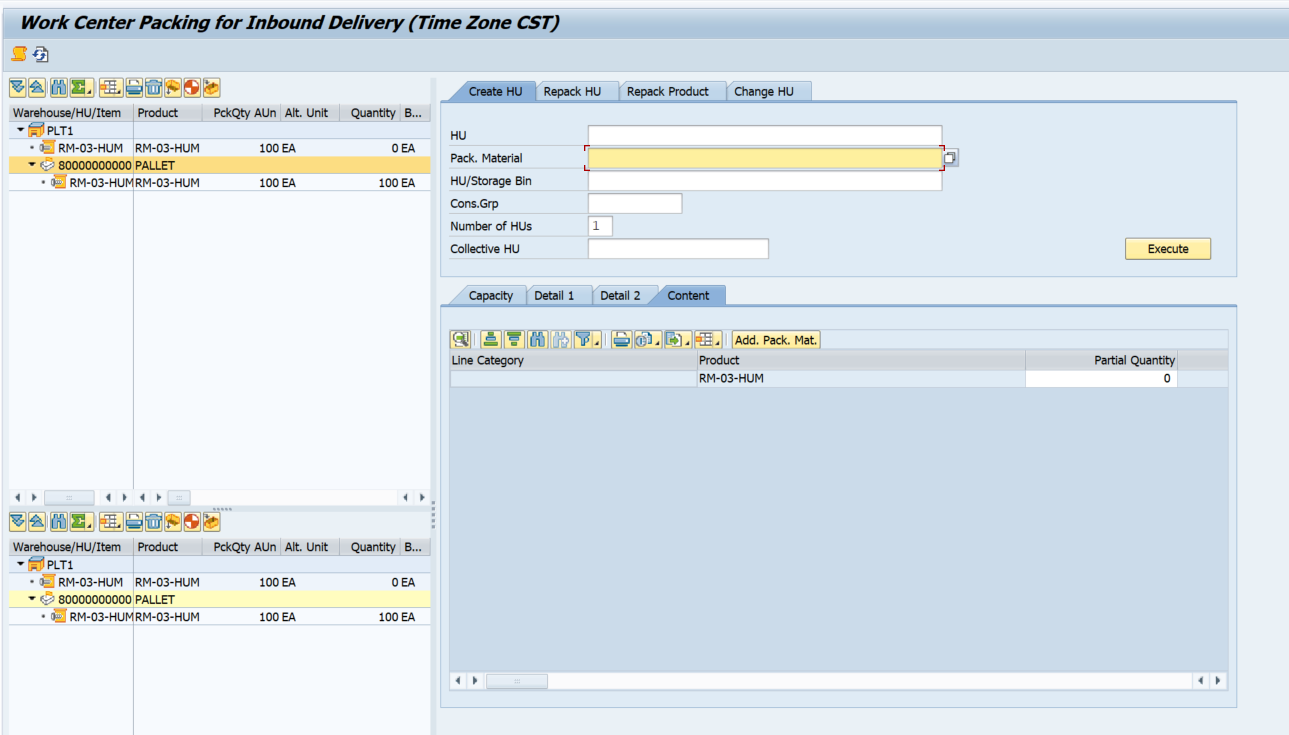
We can see the HU is created — Now we can complete the GR and Putway process
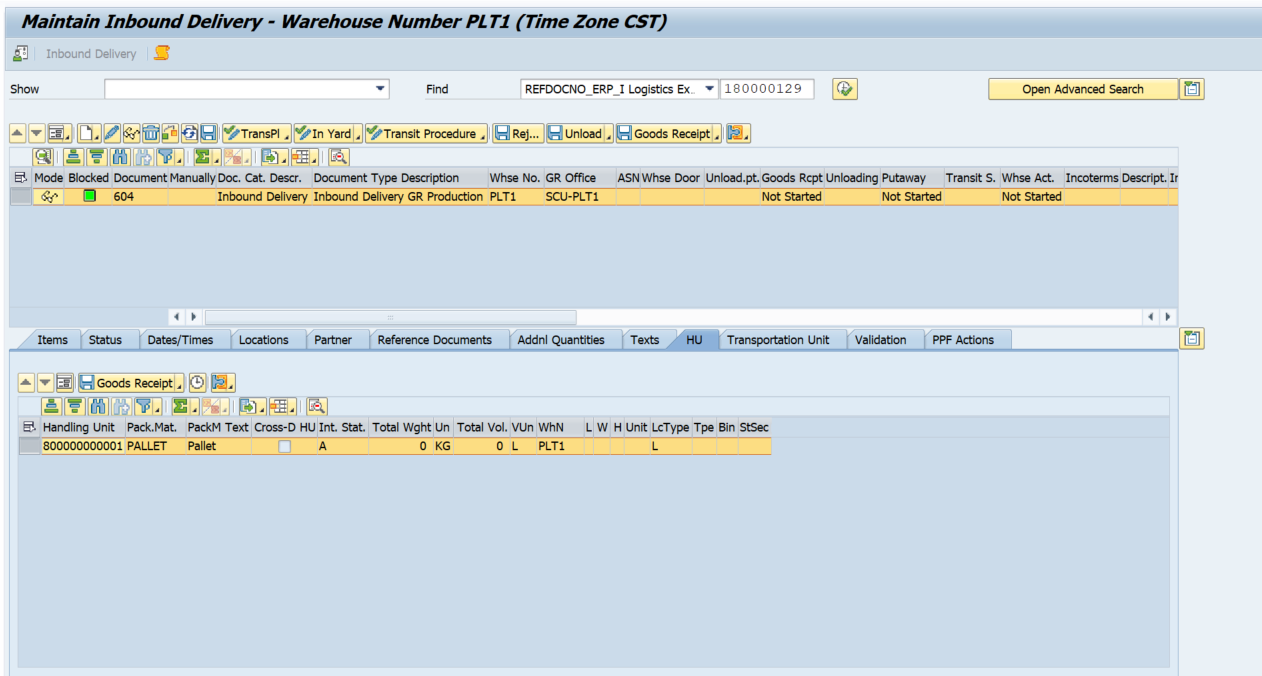
Summary
- Define Packaging material type for WH
- Define Packaging groups for products
- Maintain allowed packaging material and packing group
- define HU Types
- Define HU Type Groups
- Assign HU type and HU Type groups to the WH
- Define HU Type for storage Type
- Activate HU management at the Storage Type Level
- Create and maintain the Packing Material Master
- Carry out packaging during the INB process

